ASP.NET Core Middleware Pipeline: How It Really Works
Most tutorials show you how to call app.Use() and app.Run(). Very few explain why the order matters so much — or what actually happens when your request travels through the pipeline and never comes back out the way you expected.
I've debugged more than a few production incidents that traced back to middleware being registered in the wrong order. CORS not working. Auth headers being stripped before the JWT validator sees them. Logging middleware missing half the request context. All avoidable, once you truly understand how the ASP.NET Core middleware pipeline works under the hood.
In this post I'll walk through the internals, show you how to build custom middleware the right way, share ordering rules I follow on every project, and highlight the mistakes I see most often in code reviews.
What Is the Middleware Pipeline, Really?
At its core, the middleware pipeline in ASP.NET Core is a chain of delegates. Each middleware component receives an HttpContext, does something with it, and then either calls the next delegate in the chain or short-circuits the pipeline entirely.
Microsoft's own ASP.NET Core Middleware documentation describes it as a series of request delegates assembled into a pipeline using IApplicationBuilder. But the mental model I find most useful is a double-ended tunnel.
Request →  MW1 →  MW2 →  MW3 →  [endpoint]
           ↑              |
Response ←  ←  ←  ←  ←  ←
The request flows in, hits the endpoint, and then the response flows back out through the same middleware components in reverse. This is critical. Anything you do after await next(context) runs on the way out, not in. I've seen developers put response headers after next() and wonder why the client never sees them — the response had already been flushed upstream.
Use, Run, and Map — What's the Difference?
These three are the building blocks:
app.Use()— adds middleware that calls the next component. The workhorse.app.Run()— terminal middleware. It never calls next, so anything registered after it is dead code.app.Map()— branches the pipeline based on a path prefix.
app.Use(async (context, next) =>
{
    // Runs on the way IN
    Console.WriteLine("Before next");
    await next(context);
    // Runs on the way OUT
    Console.WriteLine("After next");
});

app.Run(async context =>
{
    await context.Response.WriteAsync("Terminal middleware — nothing after this runs.");
});
One thing beginners miss: if you call app.Run() somewhere in the middle of your Program.cs, every app.Use() after it is silently ignored. No error, no warning. I've wasted an embarrassing amount of time on this exact bug.
How the Pipeline Is Built Internally
Understanding this saved me hours when I was debugging a tricky ordering issue in a multi-tenant SaaS project.
When you call app.Build(), ASP.NET Core takes all the middleware you registered and assembles them into a single RequestDelegate using a reverse-fold pattern. The last middleware wraps the endpoint handler, and each previous middleware wraps the one after it.
The result is equivalent to:
RequestDelegate pipeline =
    context => MW1(context,
        ctx => MW2(ctx,
            ctx2 => MW3(ctx2, endpointHandler)));
This is why app.UseRouting() must come before app.UseAuthorization(). The routing middleware is what populates context.GetEndpointMetadata() — which the authorization middleware reads to decide whether the route requires auth. Register them backwards and authorization will silently allow everything through because it sees no endpoint data.
Andrew Lock's deep-dive on the ASP.NET Core pipeline is one of the best external resources I've found for understanding how WebApplication wires all of this up in .NET 6+.
Building Your Own Middleware the Right Way
There are two patterns: inline lambdas and convention-based middleware classes. For anything beyond a quick experiment, I always use the class-based approach. It's cleaner, testable, and plays nicely with dependency injection.
Convention-Based Middleware Class
public class RequestTimingMiddleware
{
    private readonly RequestDelegate _next;
    private readonly ILogger<RequestTimingMiddleware> _logger;

    public RequestTimingMiddleware(RequestDelegate next, ILogger<RequestTimingMiddleware> logger)
    {
        _next = next;
        _logger = logger;
    }

    public async Task InvokeAsync(HttpContext context)
    {
        var sw = Stopwatch.StartNew();

        await _next(context);

        sw.Stop();
        _logger.LogInformation(
            "{Method} {Path} responded {StatusCode} in {ElapsedMs}ms",
            context.Request.Method,
            context.Request.Path,
            context.Response.StatusCode,
            sw.ElapsedMilliseconds);
    }
}
Register it with an extension method — this keeps Program.cs readable:
public static class RequestTimingMiddlewareExtensions
{
    public static IApplicationBuilder UseRequestTiming(this IApplicationBuilder app)
        => app.UseMiddleware<RequestTimingMiddleware>();
}
Then in Program.cs:
app.UseRequestTiming();
Notice that ILogger<T> is injected via the constructor. ASP.NET Core resolves constructor dependencies from the DI container at startup. For scoped services (like DbContext), inject them into InvokeAsync instead — not the constructor — because middleware is a singleton in the pipeline.
IMiddleware Interface (Factory-Activated)
If you need scoped services or want DI to manage the lifetime, implement IMiddleware:
public class TenantResolutionMiddleware : IMiddleware
{
    private readonly ITenantService _tenantService; // scoped service

    public TenantResolutionMiddleware(ITenantService tenantService)
        => _tenantService = tenantService;

    public async Task InvokeAsync(HttpContext context, RequestDelegate next)
    {
        var tenantId = context.Request.Headers["X-Tenant-Id"].FirstOrDefault();
        if (!string.IsNullOrEmpty(tenantId))
            context.Items["TenantId"] = await _tenantService.ResolveAsync(tenantId);

        await next(context);
    }
}
Register the middleware itself in the DI container too:
builder.Services.AddScoped<TenantResolutionMiddleware>();
app.UseMiddleware<TenantResolutionMiddleware>();
This pattern is what I use in any project with multi-tenancy or per-request context. The official IMiddleware docs are worth bookmarking.
Middleware Ordering: The Rules I Follow on Every Project
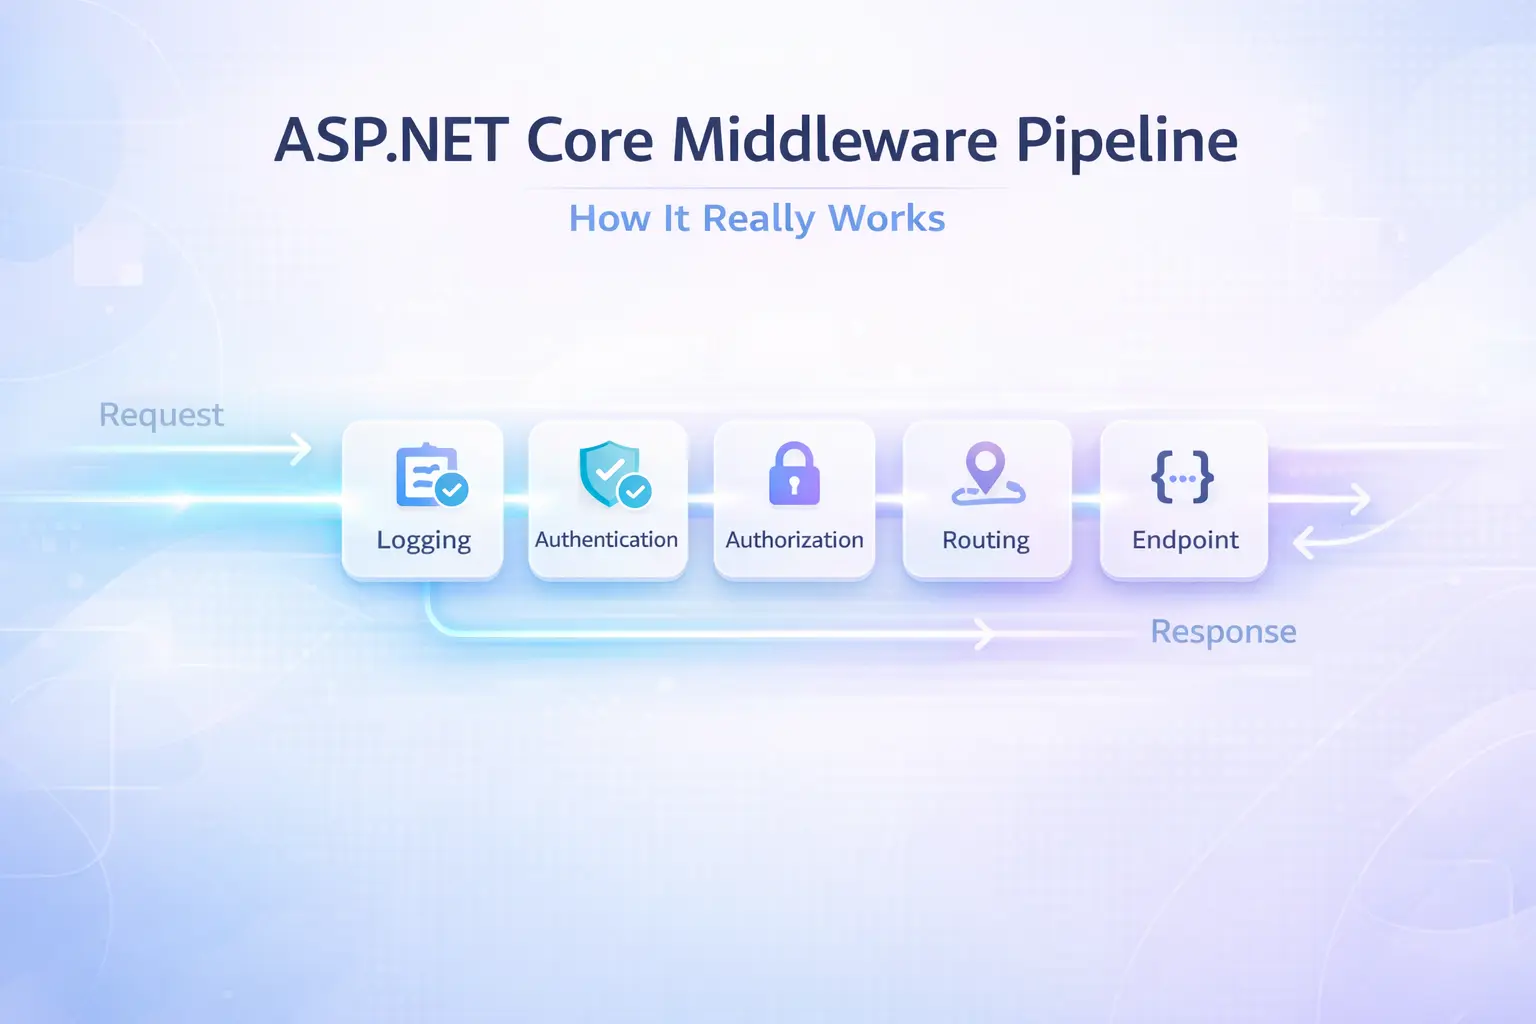
Order is everything. Here's the sequence I use in production ASP.NET Core APIs — it matches the Microsoft recommended order and has saved me from countless auth/CORS bugs:
// Program.cs — recommended middleware order
app.UseExceptionHandler("/error");   // 1. Catch everything
app.UseHsts();                        // 2. Security headers
app.UseHttpsRedirection();            // 3. Force HTTPS
app.UseStaticFiles();                 // 4. Short-circuit for static assets
app.UseRouting();                     // 5. Route matching
app.UseCors();                        // 6. CORS (after routing, before auth)
app.UseAuthentication();              // 7. Who are you?
app.UseAuthorization();               // 8. Are you allowed?
app.UseRequestTiming();               // 9. Custom middleware
app.MapControllers();                 // 10. Endpoint execution
Why does CORS go after routing but before auth? Because the CORS middleware checks the route's endpoint metadata for [EnableCors] attributes — it needs routing to have run first. And it must run before auth because preflight OPTIONS requests must never be blocked by authentication.
Steve Gordon's article on ASP.NET Core middleware ordering (one of my go-to references) explains the nuances around CORS and auth ordering in more depth.
Production Best Practices and Common Mistakes
Mistake 1: Short-Circuiting Without Setting Status Codes
When you short-circuit the pipeline (skip await next()), always set a meaningful HTTP status code:
if (!context.Request.Headers.ContainsKey("X-Api-Key"))
{
    context.Response.StatusCode = StatusCodes.Status401Unauthorized;
    await context.Response.WriteAsJsonAsync(new { error = "Missing API key" });
    return; // Do NOT call next
}
await next(context);
Forgetting the status code means the client gets a 200 with an empty body or an error message — confusing to debug, especially in integration tests.
Mistake 2: Writing to the Response After It's Started
Once context.Response.HasStarted is true, the headers have been sent. Any attempt to modify them throws an InvalidOperationException. I always check this in exception-handling middleware:
public async Task InvokeAsync(HttpContext context)
{
    try
    {
        await _next(context);
    }
    catch (Exception ex)
    {
        if (context.Response.HasStarted)
        {
            _logger.LogError(ex, "Exception after response started");
            throw;
        }
        context.Response.StatusCode = 500;
        await context.Response.WriteAsJsonAsync(new { error = "Internal server error" });
    }
}
Mistake 3: Expensive Work in the Constructor
Middleware constructors run once at startup. Don't make HTTP calls, open database connections, or do anything async there. If you need that, use InvokeAsync — or better yet, a background service.
Mistake 4: Logging Before Auth
If your logging middleware runs before UseAuthentication(), context.User.Identity?.Name will always be null. I've shipped this bug before. Now I always put request logging after authentication so I can log the authenticated user's identity alongside the request.
Tip: Use context.Items for Per-Request State
Need to pass data from one middleware to another? context.Items is a dictionary scoped to the request lifetime. It's exactly what I use for tenant ID, correlation IDs, and feature flags resolved early in the pipeline.
// Middleware A — early in pipeline
context.Items["CorrelationId"] = Guid.NewGuid().ToString();

// Middleware B — later in pipeline
var correlationId = context.Items["CorrelationId"] as string;
The Correlation ID pattern is a great example of this in a production-ready package.
Key Takeaways
- The middleware pipeline is a chain of delegates — each component calls the next, and runs code both before and after the downstream call.
- Order matters more than anything. CORS before auth. Routing before authorization. Exception handler first.
app.Run()is terminal — any middleware registered after it is silently ignored.- Use class-based middleware for anything non-trivial. It's testable and DI-friendly.
- For scoped services, use
IMiddlewareor inject intoInvokeAsync, not the constructor. - Never write to the response after
context.Response.HasStartedis true. - Use
context.Itemsto share per-request state between middleware components. - Put logging middleware after authentication if you want user identity in your logs.
Conclusion
The middleware pipeline is one of those ASP.NET Core concepts that looks simple on the surface and reveals real depth the moment something breaks in production. Understanding the double-tunnel execution model, the internal delegate folding, and the strict ordering requirements has saved me hours of debugging.
I keep coming back to these fundamentals whenever I'm onboarding a new team onto a project — it's amazing how many subtle bugs trace back to a misunderstood pipeline. If you found this useful, drop a comment below or share it with your team.
Related Resources
- CancellationToken in .NET: Best Practices to Prevent Wasted Work — Learn how CancellationToken integrates with the request lifecycle in ASP.NET Core.
- How to Secure Your Secret Keys and Database Connections in .NET — Complements middleware security patterns with secret management best practices.
- Top 15 Mistakes Developers Make When Creating APIs — Many of those mistakes connect directly to middleware misconfigurations.
- JWT vs OAuth2 vs API Keys — Choosing the Right Authentication Strategy — Understand the auth strategies that sit behind
UseAuthentication()in your pipeline.
FAQ
Q: What is the middleware pipeline in ASP.NET Core?
A: It's a sequence of request delegates assembled into a chain. Each middleware component receives an HttpContext, performs logic before and after calling the next delegate, and either passes control downstream or short-circuits by returning early. The pipeline runs in registration order on the way in, and in reverse on the way out.
Q: Does the order of middleware registration matter in ASP.NET Core?
A: Absolutely. It's one of the most common sources of bugs. UseRouting() must precede UseAuthorization() because authorization reads route endpoint metadata. UseAuthentication() must precede UseAuthorization(). UseCors() must precede auth to allow preflight requests through.
Q: What is the difference between app.Use() and app.Run() in ASP.NET Core?
A: app.Use() adds middleware that can call the next component in the pipeline. app.Run() adds terminal middleware — it never calls next. Any middleware registered after app.Run() is silently ignored and never executes.
Q: How do I inject a scoped service into ASP.NET Core middleware?
A: Don't inject scoped services into the constructor — middleware is a singleton and constructors run once at startup. Either inject the scoped service as a parameter of InvokeAsync, or implement IMiddleware and register the middleware as a scoped service in the DI container.
Q: How can I share data between middleware components in the same request?
A: Use context.Items, a dictionary scoped to the HTTP request lifetime. Set a value in one middleware (context.Items["key"] = value) and read it in any downstream middleware during the same request. It's the idiomatic ASP.NET Core approach for per-request state.