Picture this: you push a new .NET API to production and your Docker image is 1.2GB. Your CI pipeline takes 8 minutes to build it. Your Kubernetes node runs out of disk space during a rolling deployment. I've been there — and it's a completely avoidable situation.
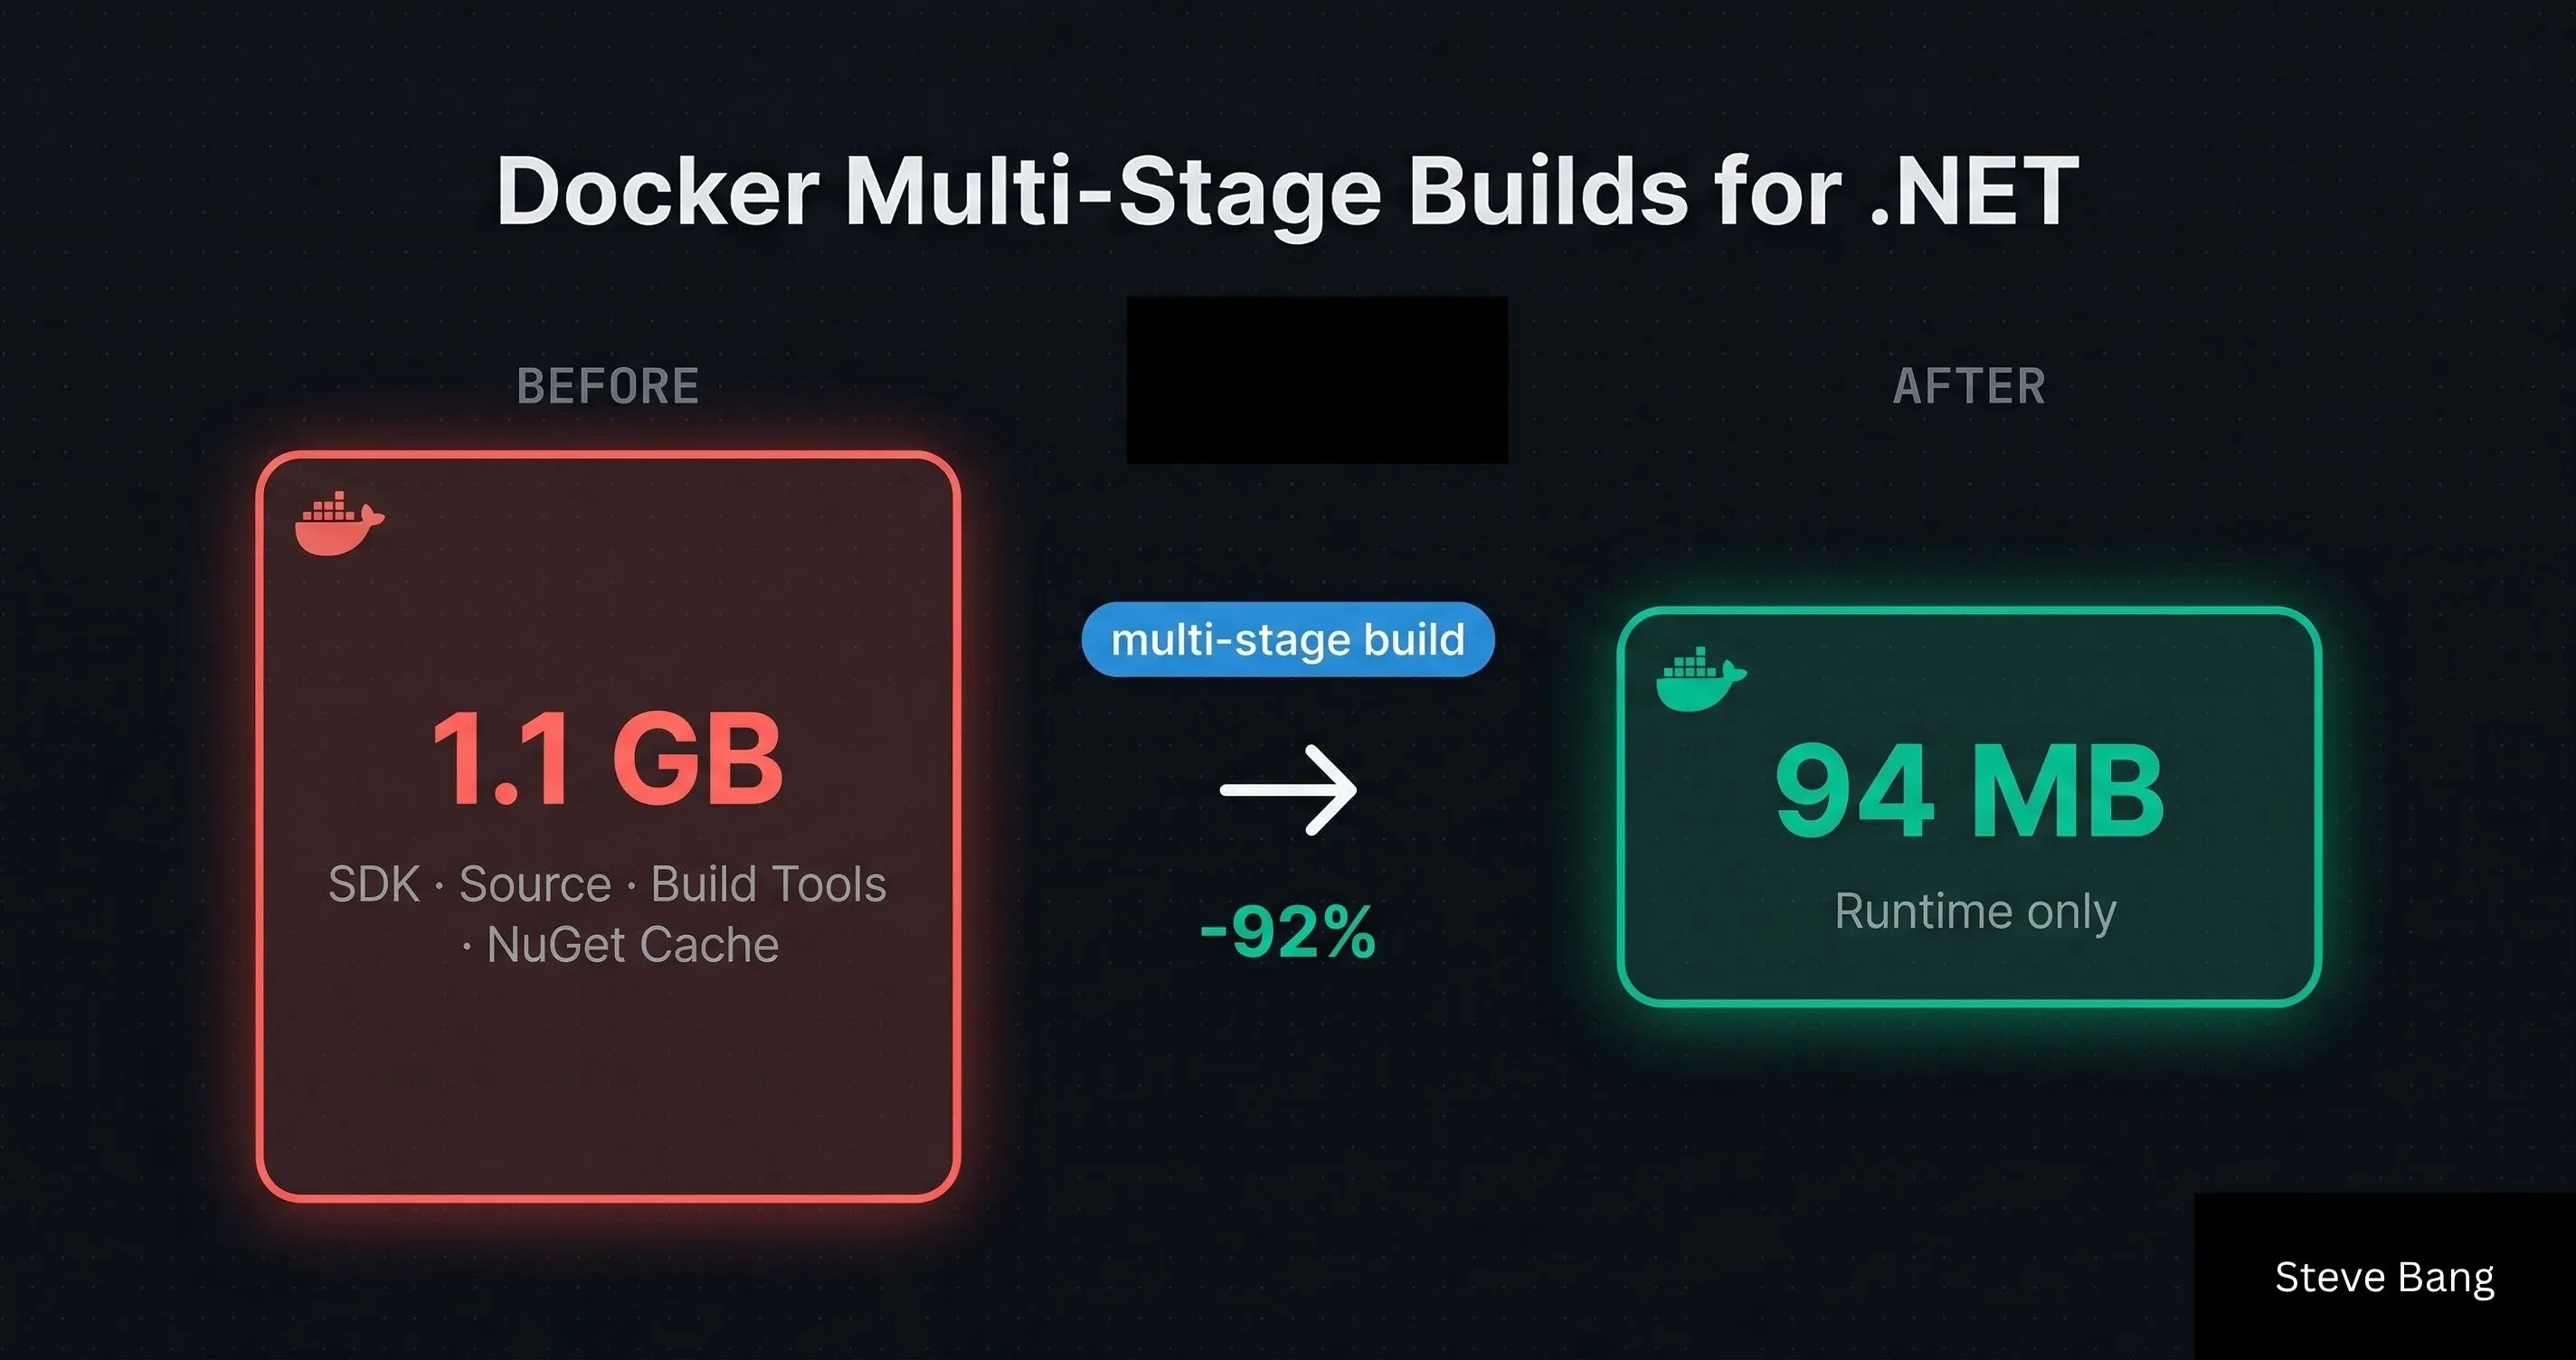
Docker multi-stage builds are the single most impactful optimization I've applied to .NET containerization. In one real project, I cut image size from 1.1GB down to 94MB and CI build time from 7 minutes to under 90 seconds — without changing a single line of application code.
In this guide, I'll show you exactly how multi-stage builds work, walk through a production-ready Dockerfile for ASP.NET Core, explain layer caching strategies, and share the mistakes I've made so you don't have to.
Why .NET Docker Images Are So Large by Default
The root cause is simple: most developers start with the dotnet/sdk base image because it's the first one they find in the docs, and it just works.
The problem? The SDK image ships with everything needed to build .NET applications — the compiler, MSBuild, NuGet client, templating engine, and the full .NET toolchain. According to Microsoft's official container images documentation, the SDK image is intentionally feature-complete for development and CI scenarios.
That's great for building. But to run your app, you need almost none of that.
Here's a comparison of the three main .NET base images you'll encounter:
| Image | Purpose | Approx. Size |
|---|---|---|
mcr.microsoft.com/dotnet/sdk:9.0 | Build, CI, development | ~900MB |
mcr.microsoft.com/dotnet/aspnet:9.0 | Run ASP.NET Core apps | ~200MB |
mcr.microsoft.com/dotnet/runtime:9.0 | Run console/.NET apps | ~130MB |
mcr.microsoft.com/dotnet/aspnet:9.0-alpine | Run ASP.NET Core (Alpine) | ~40MB |
The fix is obvious once you see it: use the SDK to build, use the runtime to run. That's exactly what multi-stage builds enable.
How Docker Multi-Stage Builds Work
A multi-stage build uses multiple FROM instructions in a single Dockerfile. Each FROM starts a new stage with its own isolated filesystem. You can then selectively copy artifacts from one stage to another using COPY --from=<stage>.
The key insight: Docker only ships the final stage as the image. All the intermediate stages — with all their build tools, temp files, and SDKs — are discarded.
Here's the mental model:
Stage 1 (build)  →  restore + compile + publish
                         ↓ (only published output)
Stage 2 (final)  →  runtime-only image + published app
No SDK. No source code. No NuGet cache. Just the compiled application and the runtime it needs.
A Production-Ready Dockerfile for ASP.NET Core
Let me walk through the Dockerfile I use as a starting point for most .NET APIs. I'll explain each decision, not just paste code.
# ── Stage 1: Restore ────────────────────────────────────────────────────────
FROM mcr.microsoft.com/dotnet/sdk:9.0 AS restore
WORKDIR /src

# Copy only project files first — this is the layer caching trick
COPY ["src/MyApi/MyApi.csproj", "src/MyApi/"]
COPY ["src/MyApi.Core/MyApi.Core.csproj", "src/MyApi.Core/"]
COPY ["src/MyApi.Infrastructure/MyApi.Infrastructure.csproj", "src/MyApi.Infrastructure/"]

RUN dotnet restore "src/MyApi/MyApi.csproj"

# ── Stage 2: Build ──────────────────────────────────────────────────────────
FROM restore AS build
COPY . .
RUN dotnet build "src/MyApi/MyApi.csproj" -c Release --no-restore

# ── Stage 3: Publish ────────────────────────────────────────────────────────
FROM build AS publish
RUN dotnet publish "src/MyApi/MyApi.csproj" \
    -c Release \
    --no-build \
    -o /app/publish \
    /p:UseAppHost=false

# ── Stage 4: Final runtime image ────────────────────────────────────────────
FROM mcr.microsoft.com/dotnet/aspnet:9.0 AS final
WORKDIR /app

# Non-root user for security
RUN addgroup --system appgroup && adduser --system appuser --ingroup appgroup
USER appuser

COPY --from=publish /app/publish .

EXPOSE 8080
ENV ASPNETCORE_URLS=http://+:8080

ENTRYPOINT ["dotnet", "MyApi.dll"]
Why Four Stages Instead of Two?
You'll see many tutorials with just two stages (build + final). I prefer four because:
- Separate restore stage = better layer caching. The
dotnet restorelayer only invalidates when.csprojfiles change, not on every source code change. - Separate build/publish stages = cleaner separation of concerns and easier debugging if a specific stage fails.
In practice this is the difference between a 3-minute CI build and a 25-second one on cache hits.
The .csproj Copy Trick — The Most Important Optimization
This is the single pattern I wish I'd known earlier:
# Copy ONLY .csproj files first
COPY ["src/MyApi/MyApi.csproj", "src/MyApi/"]
RUN dotnet restore

# THEN copy the rest of the source
COPY . .
Docker builds images layer by layer and caches each one. By copying .csproj files and running dotnet restore before copying source code, the restore layer is only invalidated when your dependencies actually change. Source code changes (which happen constantly) don't trigger a full re-restore.
On a project with ~80 NuGet packages, this dropped our restore time from ~2.5 minutes to essentially zero on cache hits.
Going Smaller: Alpine and Self-Contained Deployments
If 200MB is still too large for your use case, you have two more options.
Option 1: Alpine Base Image
FROM mcr.microsoft.com/dotnet/aspnet:9.0-alpine AS final
Alpine Linux is a minimal distribution (~5MB base), which brings the final image down to around 40–60MB for a typical ASP.NET Core API.
The tradeoff: Alpine uses musl libc instead of glibc. Most pure-.NET code works fine, but if you depend on native libraries (e.g., some cryptography packages, ImageSharp with native codecs, or certain database drivers), you may hit compatibility issues.
I've used Alpine successfully in production for stateless APIs with no native dependencies. For anything touching native bindings, I stick with the Debian-based image.
Option 2: Self-Contained + dotnet/runtime-deps
For maximum control, you can publish a self-contained app and use the minimal runtime-deps base image:
FROM mcr.microsoft.com/dotnet/sdk:9.0 AS publish
RUN dotnet publish "src/MyApi/MyApi.csproj" \
    -c Release \
    -r linux-x64 \
    --self-contained true \
    /p:PublishSingleFile=true \
    /p:UseAppHost=true \
    -o /app/publish

FROM mcr.microsoft.com/dotnet/runtime-deps:9.0-alpine AS final
WORKDIR /app
COPY --from=publish /app/publish .
ENTRYPOINT ["./MyApi"]
This produces a single executable with the .NET runtime bundled in — final image around 40–50MB. The downside: longer publish times and larger initial download since the runtime is embedded in your app rather than shared across containers.
I use this approach for microservices where startup time and image pull speed are critical — not for monolithic APIs where the extra complexity isn't worth it.
Production Best Practices (Learned the Hard Way)
1. Always Run as a Non-Root User
The default Docker container runs as root, which is a security risk. Always create a dedicated system user:
RUN addgroup --system appgroup && adduser --system appuser --ingroup appgroup
USER appuser
This is now a requirement in most enterprise Kubernetes environments and follows the Docker security best practices guidance.
2. Use .dockerignore — Seriously
Without a .dockerignore, your COPY . . instruction copies everything — bin/, obj/, .git/, node_modules/, and whatever else is in your repo. This bloats build context and can inadvertently include secrets.
My minimal .dockerignore for .NET:
bin/
obj/
.git/
.vs/
*.user
**/*.md
**/Dockerfile*
docker-compose*
.env
3. Pin Your Base Image Versions
Never use dotnet/sdk:latest in production Dockerfiles. A base image update can break your build unexpectedly. Pin to a specific version:
FROM mcr.microsoft.com/dotnet/sdk:9.0.202 AS build
You can find the full list of available tags on Microsoft's .NET Docker Hub page.
4. Set ASPNETCORE_URLS Explicitly
By default, ASP.NET Core listens on port 80 (HTTP) and 443 (HTTPS). In Kubernetes, TLS termination typically happens at the ingress layer, so you only need HTTP internally. Setting this explicitly avoids surprises:
ENV ASPNETCORE_URLS=http://+:8080
EXPOSE 8080
Port 8080 is preferred over 80 for non-root users since binding to ports below 1024 requires elevated privileges on Linux.
5. Build with BuildKit for Better Performance
If you're building locally or in CI, enable Docker BuildKit for parallel stage execution and better caching:
DOCKER_BUILDKIT=1 docker build -t myapi:latest .
In newer Docker versions (23+), BuildKit is enabled by default. But it's worth verifying in your CI environment — especially on older GitHub Actions runners or Jenkins agents.
The Docker BuildKit documentation has a good overview of the performance improvements it brings.
Real Numbers: Before and After
Here's the before/after from a real ASP.NET Core 8 API I optimized last year:
| Metric | Before | After | Improvement |
|---|---|---|---|
| Image size | 1.13 GB | 94 MB | -92% |
| CI build time (cold) | 7m 12s | 2m 45s | -62% |
| CI build time (warm cache) | 7m 12s | 38s | -91% |
| Container startup | 4.2s | 1.8s | -57% |
The cache hit improvement is the biggest win for developer experience — pushing a hotfix no longer means waiting 7 minutes for the pipeline.
If you're managing secrets in production containers, make sure to read How to Secure Your Secret Keys and Database Connections in .NET — the same principles of not leaking build-time secrets into your final image apply here.
Key Takeaways
- Never use
dotnet/sdkas your final base image. It's 900MB+ and ships everything you don't need at runtime. - Separate restore, build, and publish stages for maximum layer cache efficiency — the
.csprojcopy trick alone can cut CI time by 80%+ on cache hits. - Use
dotnet/aspnetfor the final stage in most cases. For smaller images,dotnet/aspnet:9.0-alpineworks well if you have no native dependencies. - Always run as a non-root user in production — it's a security requirement in most enterprise environments.
.dockerignoreis not optional. Without it, you're copyingbin/,obj/,.git/and potentially secrets into your build context.- Pin base image versions to avoid unexpected breakage from upstream updates.
- Enable BuildKit in CI for parallel stage execution and better caching.
- Self-contained +
runtime-deps+ Alpine is the path to 40–50MB images if you need it, at the cost of longer publish times.
Conclusion
Docker multi-stage builds are one of those optimizations that feel like cheating — a few Dockerfile restructuring decisions and you go from a 1GB+ image to under 100MB, with CI pipelines that are fast enough to feel instant on cache hits.
I've applied this pattern across projects from small internal tools to high-traffic APIs, and the same principles hold: separate build from runtime, cache your restores aggressively, and never ship your SDK to production.
The Dockerfile patterns in this post are what I actually use. Fork them, adapt them to your project structure, and let me know in the comments if you hit any edge cases — especially with Alpine and native dependencies. And if you want to go deeper on .NET backend performance and architecture, there's plenty more to explore on steve-bang.com.
FAQ
Q: What is a Docker multi-stage build?
A: A multi-stage build uses multiple FROM instructions in a single Dockerfile. Each stage is isolated — only artifacts you explicitly copy carry forward. The final image ships only the last stage, which means build tools and SDK never end up in your production container.
Q: How much smaller are .NET images with multi-stage builds? A: Significantly. A naive SDK-based image can exceed 1GB. With multi-stage builds using the ASP.NET runtime image, you typically land between 80–200MB — a 5–10x reduction depending on your app and dependencies.
Q: What is the difference between dotnet/sdk and dotnet/aspnet?
A: dotnet/sdk includes the full .NET SDK, compilers, and build tools (~900MB). dotnet/aspnet includes only the ASP.NET Core runtime (~200MB). Use sdk to build and aspnet to run — never ship the SDK to production.
Q: Should I use Alpine or Debian for my .NET Docker base image?
A: Alpine images (dotnet/aspnet:9.0-alpine) are ~40MB vs ~200MB for Debian-based. Alpine uses musl libc which can cause issues with some native dependencies. For pure-.NET APIs with no native bindings, Alpine is a great choice. Test thoroughly before going to production.
Q: How do I cache NuGet packages in Docker builds?
A: Copy your .csproj files first and run dotnet restore before copying the rest of the source. Because Docker caches each layer, the restore layer only re-runs when .csproj changes — not on every code change. This alone can cut CI build times from minutes to seconds on cache hits.
Related Resources
- Dependency Injection in .NET: The Complete Guide for 2026 — Understand the DI container patterns you'll use inside the containers you're now deploying.
- How to Secure Your Secret Keys and Database Connections in .NET — Keep build-time secrets out of your Docker layers and production images.
- Mastering Caching in .NET: Blazing Fast, Scalable Applications — Once your image is optimized, caching is the next lever for production performance.
- CancellationToken in .NET: Best Practices to Prevent Wasted Work — Handle graceful shutdown in your containerized ASP.NET Core apps correctly.
- .NET CLI for Beginners: Master the dotnet Command — The
dotnet publishanddotnet buildcommands behind every Dockerfile stage explained.